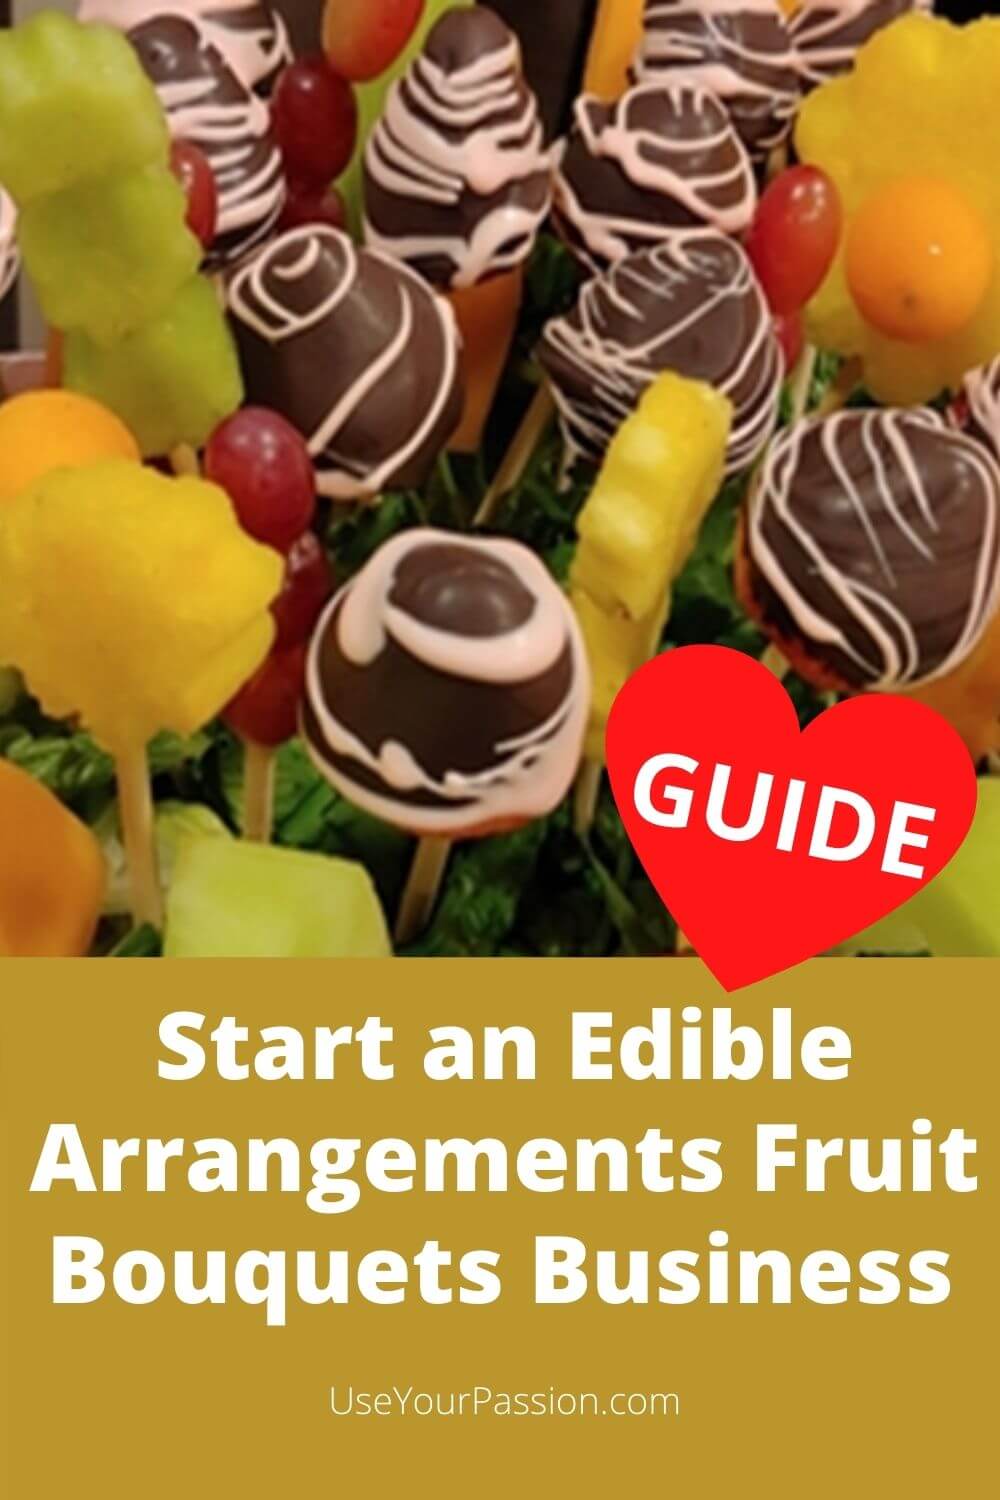
The edible arrangements fruit bouquets make an awesome gift to receive.
So, I’m sure they would be every bit as fun to create, even if only to give as gifts to your friends and family. But… what if a demand for your bouquets became a “thing”?
In that case, you might want to give serious consideration for starting out your new business right from home.
Just make sure to keep your kitchen clean and sterilized well, between uses and in filling in your orders.
Heck, even your deliveries could easily be contact-free, given the new way of doing business forced upon us with the recent COVID-19 virus spreading so rapidly within the USA, and still an issue here in Canada.
And, edible arrangement fruit would be enjoyed by those who find that flowers wilt too quickly, leaving them disappointed with receiving beautiful flowers that need tender care and regular attending to.
What is an Edible Arrangements Fruit Bouquet?
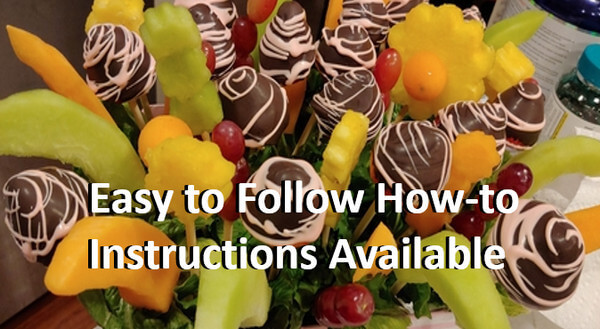
For those of you who may not be certain as to what an edible arrangement fruit bouquet is, see the image of such a bouquet to the right.
They are consumable gifts that do NOT need watering. Yes, you CAN eat these… well, your customers could.
You could even add, fruit baskets to your list of products offered for those customers who like the idea of gifting a fruit basket rather than a fruit bouquet.
The containers can be as fancy or as plain as you want them to be.
This would depend on your budget, the size and weight of your planned fruit bouquet, and can be made from porcelain to plastic to cardboard.
To make a fruit bouquet, a quick list of tools that you will need are as follows.
- A selection of kitchen knives from a large serrated knife, to a small sharp knife).
- Scissors for cutting cellophane, ribbon, etc.
- Cutting boards (different sizes).
- Melon scoop or cookie scoop.
- Metal cookie cutters in a variety of different shapes. Flower shapes are best for starters.
- Toothpicks, and 6-inch lollipop sticks.
- Method of melting chocolate (either a microwave oven or chocolate melting machine).
- Fridge access… lots of room will be required it if you will be doing this as a business.
- Working area for washing, preparing, cooking and assembling.
- Florist pull bows and ribbon.
- Containers, cardboard florist boxes, baskets or white pots.
- Cellulose tape.
- Large clean piece of Styrofoam or cake pop type holder.
- Kitchen foil.
The fruit that is typically used for creating your edible arrangement fruit bouquets are as follows:
- Strawberries
- Cantaloupe melon
- Pineapple
- Grapes
- Oranges
- Kiwi
Always wash the strawberries and grapes BEFORE displaying them in your fruit bouquets so that they are safe and ready to be eaten.
For the base of your fruit bouquet, you will need previously cleaned lettuce.
A curly leaf lettuce will provide you with the best presentation but when not available, you can also use iceberg lettuce.
Pineapple Flowers
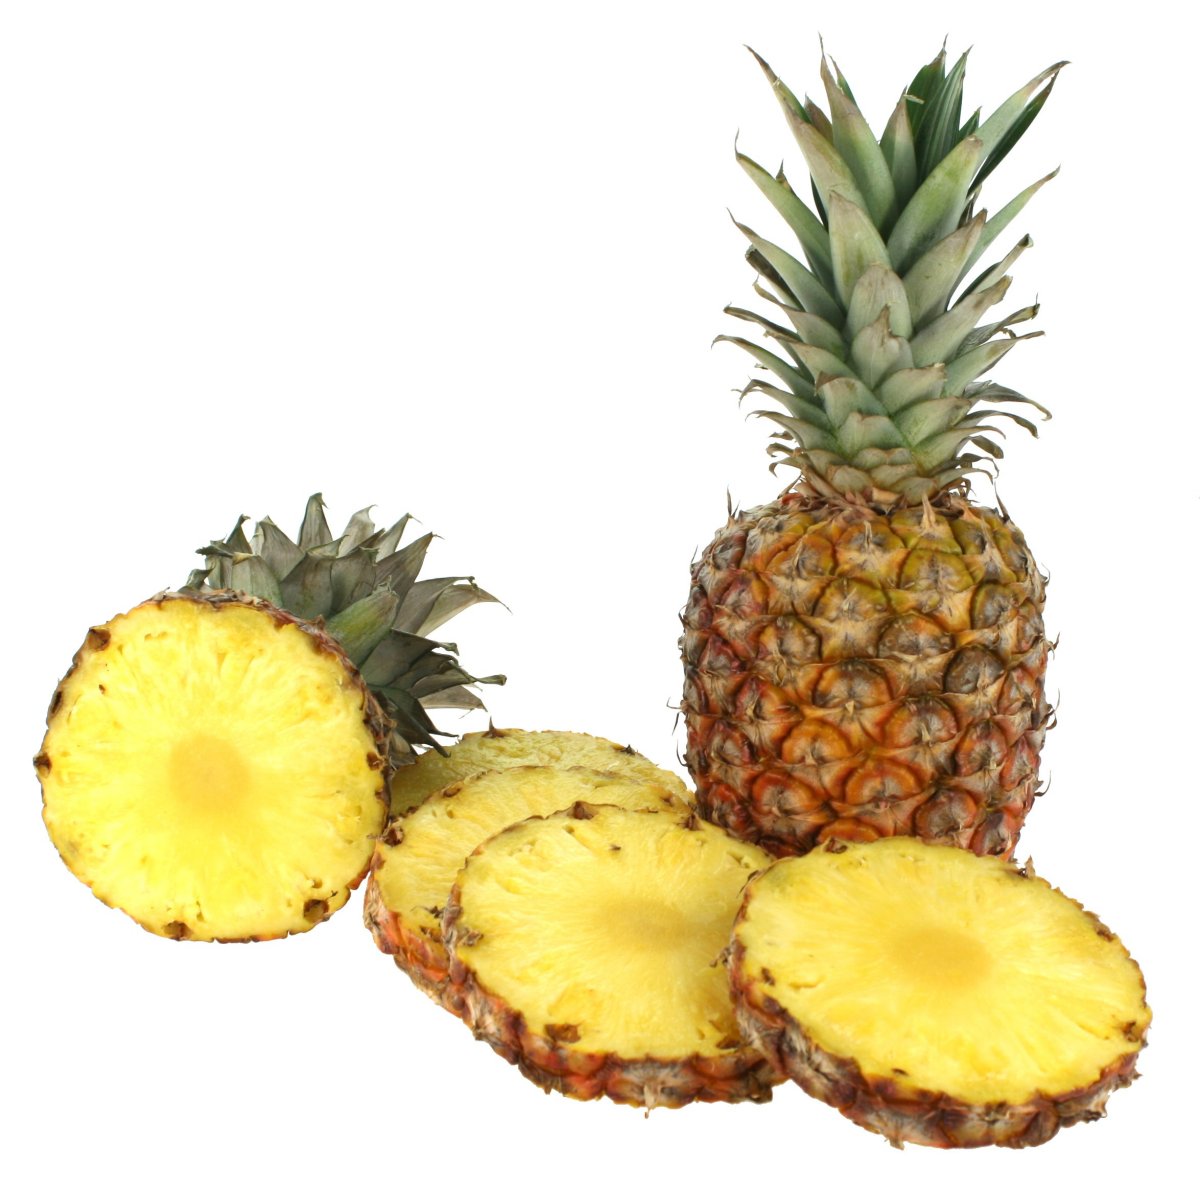
- You can remove the top or the crown of your pineapple, then cut 1.5 cm slices horizontally, as shown in the image below.
You should be able to get at least 6 to 8 slices per pineapple, depending on its size.

- Then, taking each slice, place them flat on your cutting board, take your flower shaped cutter, and center it in the middle of the pineapple slice.
Press down on your cutter and remove the outer section and discard it, retaining the daisy shape you have now created.
- Next, take your cantaloupe melon, cut it in half, scoop out the center seeds and discard them.
- Now, take your melon scoop and scoop out the same number of melon balls to equal the number of pineapple daisies that you were able to make.
- Using a 6-inch wooden skewer, carefully push the skewer through the center (the core) of the pineapple daisy (starting from where it is laying on the cutting board) so that about 1.5 cm of the skewer tip sticks out the other side of the center (the core).
- Then, carefully pierce the melon ball onto the skewer tip to hold it in place, as it now becomes the center of your pineapple daisy.
Chocolate Covered Fruit
Strawberries are delicious when dipped in chocolate! To do this, you will need the following:
- One pint of strawberries washed thoroughly and dried.
- Belgian chocolate – white, milk and/or dark.
- Chocolate melting machine (if you have one, otherwise a microwave works too).
- Large piece of Styrofoam wrapped in tin foil (or you could use a cake pop holder).
- 6-inch wooden skewers.
Instructions
- Melt your chosen Belgian chocolate either in your melting machine or using your microwave oven.
- Take each strawberry and carefully skewer through the base, making sure the skewer is positioned in the center of the stem, and that it does NOT poke out the tip of the strawberry.
- Carefully dip the strawberry into the chocolate to its mid-line, and then rotate it as you are taking it out of the chocolate, letting the excess chocolate drip off the strawberry.
- Now, push the other end of the skewer into your Styrofoam block so that the strawberry is allowed to dry.
- Place the strawberries into your fridge to set, for approximately 10 to 15 minutes.
- Once they are completely set, your chocolate dipped strawberries are ready to be use in assembling your fruit bouquet.
Basic Assembly of a Fruit Bouquet
Now it is time create your first, delicious fruit bouquet. To do this you will need the following:
- 1 large pineapple
- 1 cantaloupe melon
- 1 pint of fresh strawberries
- 1 handful of red grapes
- 1 bar of each: white, milk and dark, Belgian chocolate
- 1 package of 6-inch skewers
- 1 container to hold your fruit bouquet
- 1 head of iceberg lettuce
- A roll of cellophane
- Cellulose tape
- 1 pull bow in whatever color you want
To help you decide what to use for your container to hold your fruit bouquet, a plain white container will help to not distract from your first fully assembled fruit bouquet.
Instructions
- The head of iceberg lettuce will be used to your container to stick your skewered pineapple daisies and chocolate dipped strawberries into.
So, your container should allow for your chosen head of lettuce to sit nearest the top of your container, yet NOT off of it easily.
- Next, skewer one of your pineapple daisies to the top, center of the head of lettuce as it is now sitting in your container.
- Then, place five more pineapple daisies next to each other on the sides of the lettuce, making sure that they each have a similar gap between each of them.
- Now add four, chocolate dipped strawberries to the top of the lettuce, at equal places around the top, center daisy.
- Take some fresh strawberries and place them between each of the pineapple daisies on the sides of the lettuce, and in between the chocolate dipped strawberries at the top of your arrangement.
- Then, place four skewers at the top of the arrangement so that they are equally spaced.
And then push three red grapes onto EACH of those skewers, making sure that the skewers do NOT push through the top of the last grape.
Voila, you have now created your first edible arrangement fruit bouquet.
Another Fruit Bouquet Arrangement Idea
How to Wrap Your Fruit Bouquet
This will take practice and patience, but you CAN do this. Wrapping a fruit bouquet is probably the most difficult part of the entire process of this business.
So, you do need to be prepared to practice in order to get good at doing this. With patience, I’m sure that in no time at all you will be wrapping fruit bouquets in different colors of cellophane, as well as any other professional.
Now, let’s get started. You need the follow:
- A roll of cellophane
- Cellulose tape
- Scissors
First, take the roll of cellophane and measure out enough to cover your arrangement from underneath your container, to the top of the assembled fruit bouquet… and add another 12 inches.
Next, place your bouquet in the center of your cut piece of cellophane, so that you have equal amounts of cellophane in front and behind your bouquet, as well as each side.
Pulling the top of the front and the top of the back pieces of your cellophane upwards toward the top of your bouquet.
Then carefully gather your cellophane to the top, center point, keeping the cellophane pulled upwards as you are doing this.
Please, make sure that your arrangement doesn’t topple over as your doing this.
Now, keeping your one hand at the top of the cellophane, take your other hand and grab the cellophane about 2 inches above the top of your fruit bouquet (creating the neck), and then using your first hand, gather all of the cellophane into the center, just above the top center of your fruit bouquet.
You can now secure the neck of your bouquet with cellulose tape to ensure that the cellophane will not come undone, once you have fanned out the top of the cellophane.
Now, for the bow…
There are several different ways that you can make bows to use.
For the sake of simplicity, I have provided the two videos below to show you how to make 2 different styles bows, of which the pull bow tends to look a bit more professional to some.
Make a Pull Bow
How to Make a Puff Bow
Now, you can add your finished bow to your fruit bouquet arrangement by securing the bow around the “neck” below the cellophane fan, and you have a very beautifully assembled presentation.
For added pizzazz to your bouquets, you could add balloons that say things like, Thanks, Thank You, Congratulations, Happy Birthday, etc.
How to Earn from Your Fruit Bouquet Business
Because gift giving tends to be a very emotional process, many people find it difficult to find the right gift for that special someone.
Flowers and chocolates may have been given previously… or that special someone is now on a diet, so that tends to complicate this task even more.
Now you can create great gifts to suit any occasion!
There are birthdays, anniversaries, get well, thinking of you, welcoming new neighbours, saying thanks, etc., with the top 3 occasions being Christmas, Valentines Day and Mother’s Day.
The edible arrangements fruit bouquet business is rapidly expanding, allowing entrepreneurs to have fun, to be creative, and to make a living doing this.
Though this business does require a small investment as a home-based endeavour that could be grown to include more employees as your business expands.
This business requires minimal training, and when started from home, requires no rental fees for office or work space.
This makes a reliable vehicle your biggest expense, which is necessary for delivering your products. And, if you don’t presently own a computer, you will need one of those too.
You WILL need a separate fridge, but who says that it needs to be a brand new one… as long as it is working, right?
Your profits will depend on your initiative and your marketing.
In addition to starting this business from home, you could also add this too an existing business, such as a fruit and vegetable shop, florist shop, juice bar, catering business.
Fruit baskets would take even less time to prepare too.
Some businesses that offer the edible fruit bouquet arrangements, even add such items as homemade candies… like chocolate coated cake pops to some of their bouquets, depending on the size of the bouquet ordered.
How to Make Cake Pops – Easy Homemade Cake Pop Recipe
Then there are 5 other styles of Cake Pops you could make
Marketing Your Edible Fruit Bouquet Arrangements Business
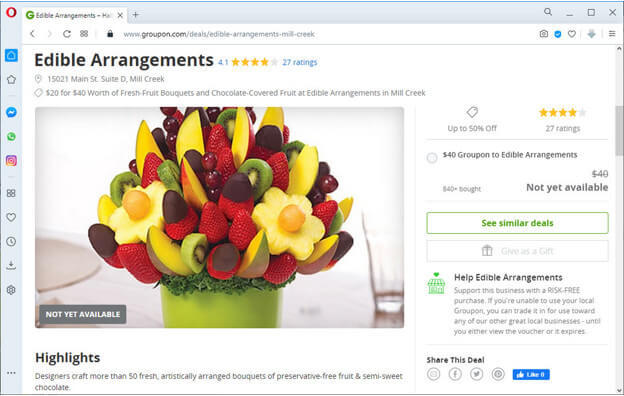
As for adverting, you could use fruit bouquets edible arrangements coupons by listing a picture of your best bouquet creation along with your business details on groupon.com (like the one pictured in the screen print below), and be sure to ask your customers for reviews too.

And, don’t forget how valuable creating a website is for any new business.
Also, make sure that you create a social media presence.
The social media I am referring to are Pinterest, Facebook fan page (or at the very least, a group), Instagram and Twitter.
You could hire a local student if necessary but social media IS important. Ignore social media at your own peril.
Licenses and Insurance
So that you can list your business for free, you will need to apply to your local council, and you will be required to obtain a Food Hygiene (Food Handler) Certificate.
These can be applied for online and the costs vary depending on where you are located.
Public Liability insurance is also available, so do make sure you are covered BEFORE starting your edible arrangements fruit bouquets business.
Another inexpensive “safety net” is having a law firm at your disposable should the necessity come up. My recommendation is to use Legal Shield or something similar if it is not available in your area.
How Much Money Can I Expect to Make?
It has been stated that your average gross profit needs to be 65%, which is great for a business with very little outgoings and ongoing expenses. In other words, that is great for a home-based business.
To help you decide on prices to charge for your work, you could Google search to discover what your competition or those in the next city to you are charging, and then either charge a bit less or the same.
Remember too: This business can be easily operated and still remain compliant to social distancing, even when delivering.
Though you will need to ensure that the person you are delivering to, or their representative, is available to take immediate delivery that you would leave on their door step, and then step back and wait for them to accept your delivery.
So, now it is time for you to evaluate how and where your competitors advertise. Find out what is working for them. Then, take their best ideas, and design your own winning arrangements, positioning yourself as having the best offer.
I do hope this guide has been helpful in your decision making as to starting your own edible arrangements fruit bouquets.
Should you have any questions regarding this topic, please do leave me a comment below and you will receive notification once I have responded.

Credit for Header: image by ID 149586739 © | Dreamstime.com


